Lighting Games For Artists – The Basics
Lighting Principles
Direct Lighting
Direct Lighting is the most basic form of lighting. It describes anything that the light hits directly from the source. This is how lighting has worked for most of gaming history, at least while lighting has been a thing. On modern platforms it is cheap to use, even running in real-time, and can be used in fairly large numbers without much issue, although you always need to be careful with performance when it comes to lighting.
Global Illumination
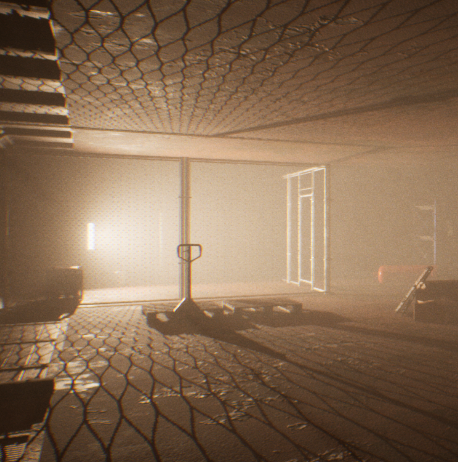
Global Illumination is the name given to what is bounce lighting when light bounces off of one object and lights another. An example of this would be the light coming in through a window. With direct lighting only it would illuminate a perfect cut out of the window on the floor of the room and the rest of the room would be pitch black. With Global Illumination that light will bounce off the floor and around the room, lighting it much more naturally with areas such as corners darker than the middle of the room.
GI technology is not new in games, however, it has only recently been possible to achieve in real-time. In the past, indirectly lighting would only work with baked lighting, when all the lighting is rendered out during production rather than as you play, which comes with its own limitations that we discuss later.
Now computing power and game engines have become powerful enough to offer GI at runtime, meaning they can be used dynamically for things like the player’s torch light. It’s still very expensive to run so we’re not at a stage where we can use it without thought, but we’re approaching the stage where it might soon be possible.
Volumetric Lighting
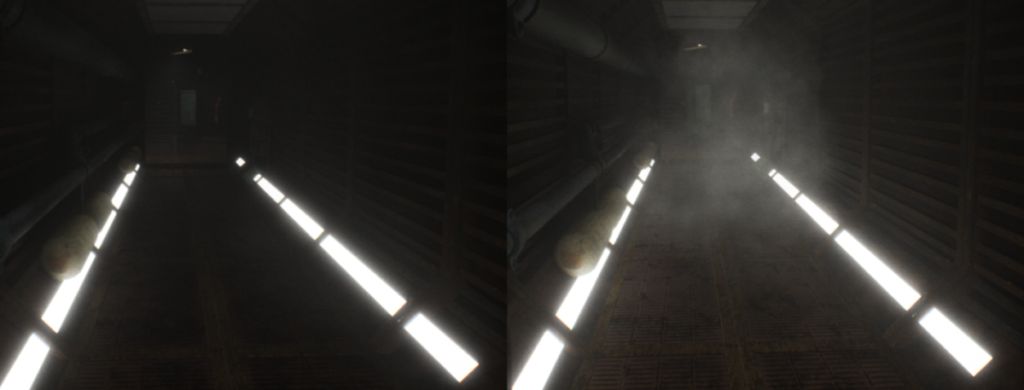
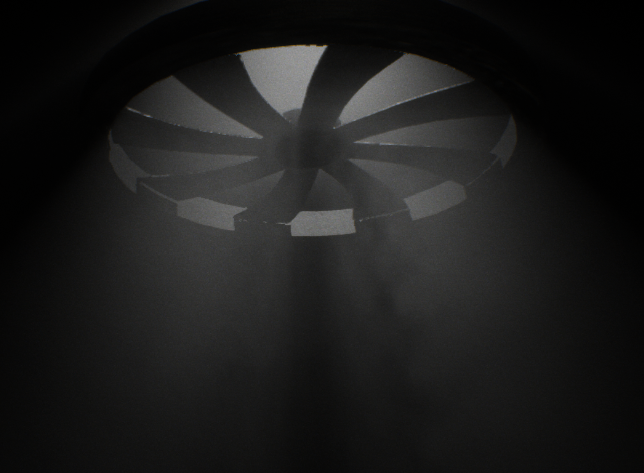
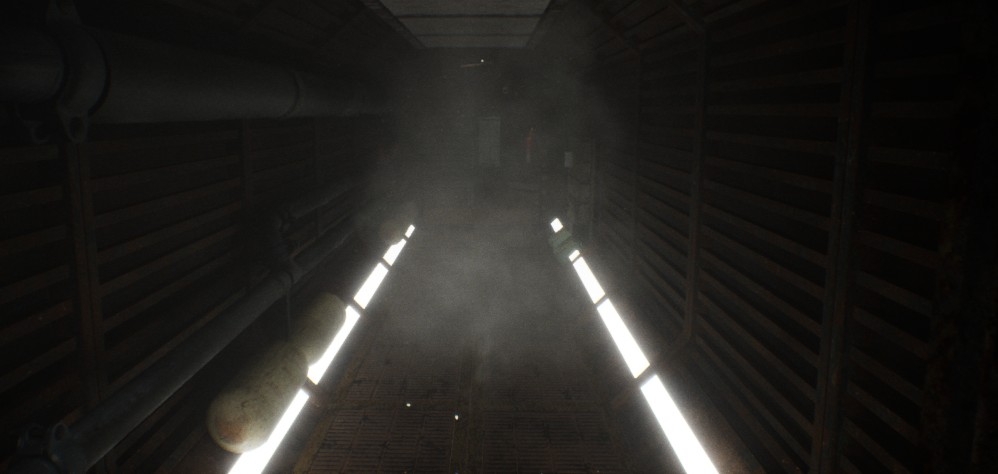
Volumetric Lighting refers to the effect you get when lighting interacts with volumetric objects, such as particles or fog. The most obvious example of how this can be used is in creating ‘God Rays’ when the sun shines through the clouds or trees and interacts with the atmosphere or fog. Volumetric lighting can be expensive but can be very visually stunning and can set a modern-gen game apart visually from older games that had to fake it.
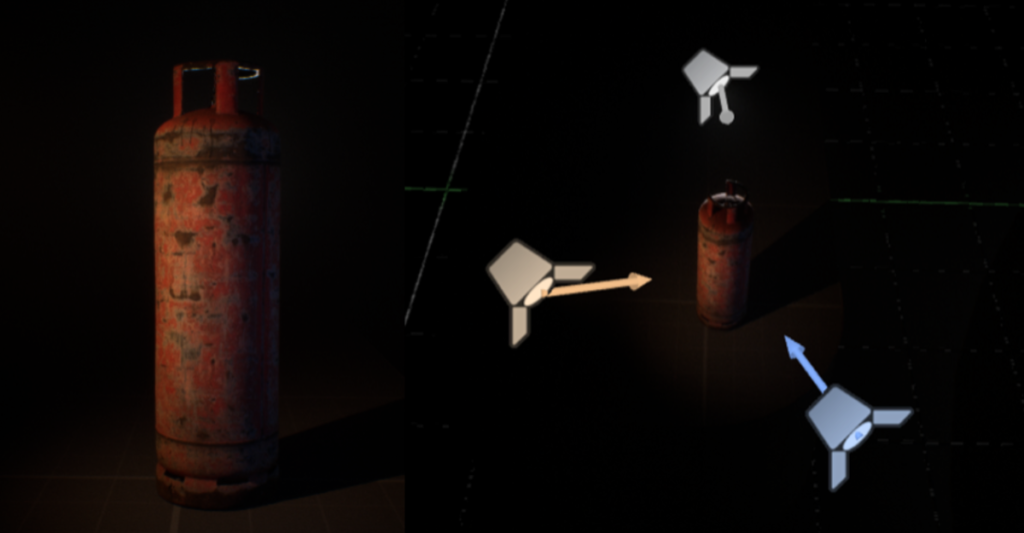
Emissive Lighting
Emissive Lighting is something that is also fairly new to the game dev world. In the past, emissive textures made an object look brighter and give it a glow so that it looks like it was actually lit. Modern engines can take emissive lighting and produce actual light from them, allowing a scene to be lit entirely through emissive lighting if that’s what you wanted. This allows for much more interesting lighting rather than the traditional point lights, spotlights, and area lights, allowing you to run strip lights around a room or have flashing lights on a mech cast actual light around the environment.
Baked Lighting
Baked Lighting is generally the older and more traditional way of lighting a game as it is very cheap to run. It’s still used in the modern age to reduce performance costs, especially on mobile and other weaker platforms like the Switch. The reason this is cheaper to run is that all of the lighting is worked out during game development rather than as the game is running while you play it.
There are limits to using this, however, which is why it’s used less and less in modern games. Perhaps the biggest is that it can’t react to the game as you play it. So anything that moves, such as characters or moveable objects, cannot cast shadows as when they have moved the shadow will be left behind. Another major downside is that to do this, it has to bake out all of the light detail into textures which are then applied to each object. Having so many extra textures across so many assets can push the total size of the game up massively.
The advantage that it has in performance is so significant that it should not be dismissed outright though. Some systems like Unreal Engine’s lighting will allow you to do a hybrid kind of lighting, which bakes all the static objects and lights all the moveable ones in real-time, taking advantage of both systems. There are still other limitations, such as only being able to have 4 lights affecting each object, but game development is all about choosing the best option for the job.
Real-Time Lighting
Real-Time Lighting is the other side of the coin to Baked Lighting. With Real-Time everything is worked out while the player is playing the game. This is the most common way for modern games to use lighting now that computing power is strong enough to do this. However real-time lights must still be used sparingly as any objects the light touches has to undergo extra rendering passes, essentially making each object many times more expensive to run.
The plus side to Real-Time Lighting is that it patches over Baked Lighting’s issues. No matter if an object is static or moving, the lighting and shadow will update the entire time you are playing.

Ray Tracing
Ray Tracing is something that we’ve had in games for a while, but the real power of modern Ray Tracing is being able to use it in real-time for everything from lighting to reflections. Although still very costly in terms of performance and requiring pretty heavy GPU power, it’s easily the best system we have in place for producing high-quality lighting and reflections.
It works by firing out a load of lines from a point, such as a light, these are called rays. The GPU is then able to work out where those individual rays hit to determine if it should be lit, or what things the surface should reflect. The quality can be improved by increasing the number of rays that are cast, but the cost increases very fast and for now they have to be kept at reasonable levels for the game to run well.
Lighting Characters
Characters will often have their own unique lights, which follow them around ensuring they look their best at all times like their own movie crew. Sometimes these will just be used during cutscenes or during close-up shots where the character needs to look good. These lights don’t ‘make sense’ in a realistic way, but are designed to make something look good as movie lighting often does, and as such, the same theories can be used in many cases.
This is becoming less necessary in modern games as the lighting systems become so powerful and are able to do things such as Global Illumination bounce lighting which means characters are most likely well-lit at all times using just the environment lights so it’s less important to make sure you can always see characters faces well in darker areas, for example. However, they are still powerful tools to really make a character look good, especially in a close-up and story-driven game such as The Quarry. When using these lights there are a few basic light types to consider. Key Light, Fill Light, and Rim Light.
Key Light
The Key Light is the main light that will focus on the main part of the thing you want to highlight, such as a character’s face, and will normally be behind the camera to one side so that it illuminates what the camera is looking at from an interesting angle. Often this will be the one light that casts shadows as it will be the main light source. Whether you do this in a game is dependent on how you are using it, if it’s very strong you might need them to look right, but shadows coming from a place with no lights in the environment could look strange as well.
Fill Light
A fill light works in counter to the Key Light. It’s to illuminate the areas that are darker and the Key Light doesn’t catch. When considering the face example, if the Key Light is coming from the top, the Fill Light might be coming from underneath to catch under the chin and nose as well as the other side of the face to ensure that they are not in complete darkness. These lights will not generally cast shadows as they are more to create the illusion of bounce lighting than actual direct light.
Rim Light
A Rim Light, sometimes known as a Back Light, is designed to be behind the target when looking through the camera. The whole idea of this light is to give a highlighted rim around the object, making it stand out against the background and often giving it a nice touch. These will also not cast shadows as they are designed not to mimic an actual light, just to add a visual flourish.
Lighting Environments
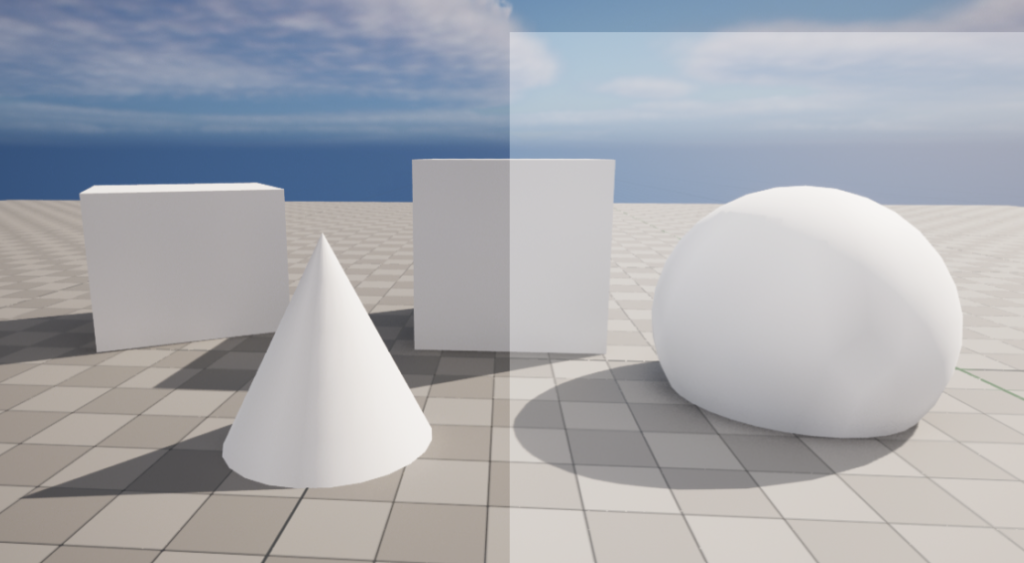
Sunlight
Sunlights, unsurprisingly, mimic sunlight. In most programs these are not simply a point light in the sky, they are directional lights. This means that all the light beams are being shot down parallel to each other. This means the shadows that are being cast across the scene are consistent for the entire level, rather than being longer the further they are from the light, much like actual sunlight, due to the Sun’s extreme distance from Earth.
Due to the increase in Global Illumination bounce lighting quality the sunlight is capable of doing the majority of the work with outdoor scenes. Unreal’s famous Matrix tech demo shows what can be done with just a Sunlight without the need to back up ‘fake lights’ that you would have had to use in the past.
As the Sunlight will be affecting almost everything in the scene, will not be rendered out at further distances, will almost always want shadows to be cast, and now be expected to do the majority of the bounce lighting in scenes, it is in most cases the most expensive light in the game, so optimization is important.
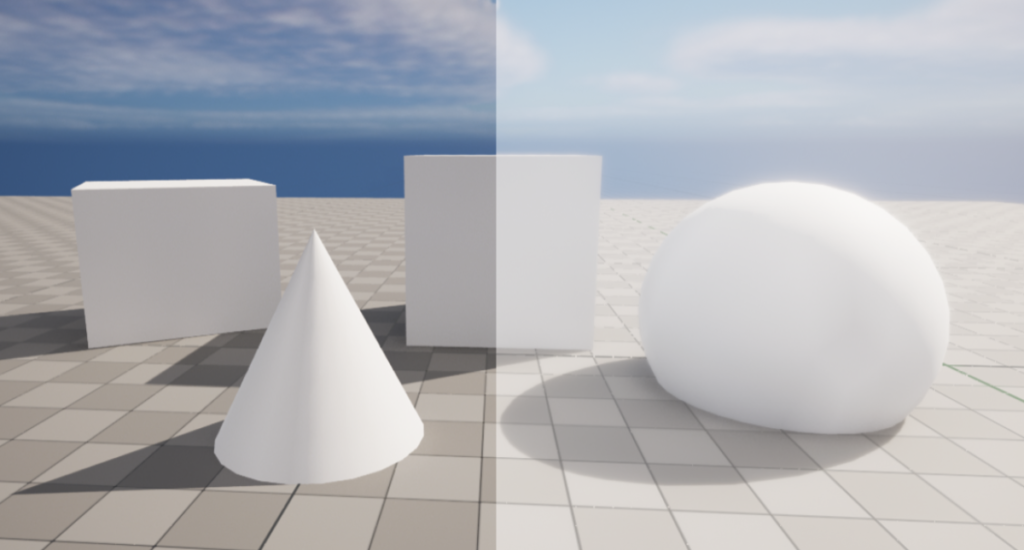
Skylight
The Skylight, in most game engines, works by adding a low level of light to everything in the scene. It’s similar to how the sky can illuminate things outside that are in the shade of an object so the sun doesn’t reach it directly, or the way that everything is illuminated in a diffused way when the weather is overcast and blocking the sun.
Skylights don’t cast shadows and are just used to make sure dark areas don’t get too dark, and the detail can still be seen in areas that are tucked away. Because of the lack of shadows and the fact that it doesn’t use bounce lighting, a Skylight is generally a fairly cheap light.
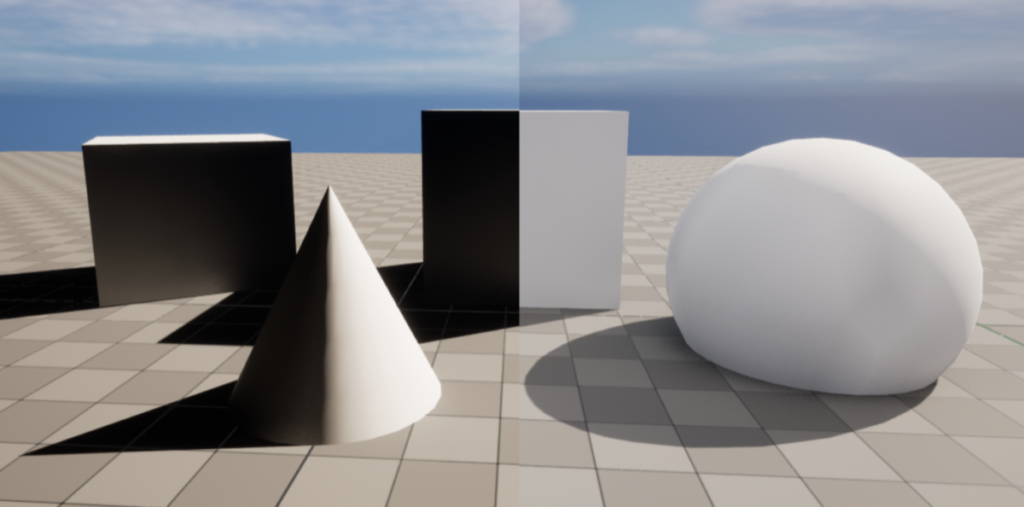
Lighting With PBR
Most modern games used PBR (Physically Based Rendering) materials. The key feature that these materials have over previous types is that they are designed to react in the same way as real-life materials. That means there are ‘correct’ settings for each material such as the roughness of hard plastic or concrete. Normally game projects will allow a small amount of leeway in tweaking these settings to allow for an artistic interpretation which is an improvement of how it looks in the game. However, you will want to keep these fairly correct when building assets as the lighting relies on this.
Setting Up Materials For Lighting
Materials and lighting work hand in hand. If either of them is wrong or is not created with the same intent in mind, then objects will not look right. As such Artists and Lighting Artists need to work closely together and follow strict rules on how materials and lights are set up to ensure both work together as best as possible. If they are not aligned the work will still look good in most cases, but to get that really high degree of quality you won’t want them to be fighting each other as neither part will look as good as the artists would want it.
Lighting programmers and render programmers are also incredibly important at this stage, so you will have to make sure you are on the same page as them. They will be programming how the engine deals with the art that you are feeding them. Many engines, such as Unreal Engine, have all the lighting set up in ways to mimic real lighting already, so it’s easier to work in tandem with them, but for bigger projects that base work might be edited to get certain effects so it’s important to ensure you are aware of anything that might make it respond in a way that you aren’t expecting.
Game Performance And Lighting
When it comes to performance, lighting is easily one of the most important pieces of the pie. Lighting will affect more or less everything in the game as you will want to be able to see them. The game has to do another render pass over every object for every light that touches it, even slightly. This essentially means that the model is being rendered multiple times for multiple times the cost. Add 10 Point Lights to a room full of high-resolution objects and it can quickly overwhelm a computer. This is becoming less of an issue with tech such as Unreal’s Nanite and Lumen, which will become more widespread, but there will always be a high cost involved somewhere along the line so caution is always needed.
Other things to consider are what kind of lights you are using. Something like Directional Lights will hit almost every asset in a scene. Point Lights will hit everything in an area, whereas Spot Lights only project in one direction. This means, in effect, a Point Light is roughly 6 times more expensive than a Spot Light as it would be like placing a Spot Light on every face of a cube. Considering this is key to getting the most out of your limited lighting performance headroom.
There are some other optimizations you can do to get your lighting performance to go further. Shadow Cascades are used to make sure that only the lights closest to the player are rendered to the highest quality, and each cascade has a lower and lower quality. As part of this, or separately, you can make sure that lights are not being rendered at all past a certain distance that the player would not notice.
Another thing to consider is if you could use baked lighting, particularly for smaller games for lightweight platforms like mobile or a handheld console like the Switch although this comes with its own drawbacks that we discussed above.
Color Grading and Look-Up Tables
Whilst not strictly part of lighting, Color Grading and Look-Up Tables are nonetheless important to the overall look of the lighting. These can be used to give a tint or other change to the overall game which affects the lighting predominantly. So whilst a Lighting Artist may or may not be in charge of this area of work, it’s something that needs to be considered.
They work by taking colors from one scene and matching them to another, similar to the color match functions in programs such as Photoshop. They can also control how certain aspects of the game work, such as the exposure and lighting to create an accurate copy of how something else feels. For example, it’s possible to take a screenshot of the scene you are working on, edit it in photoshop to look how you want it to, and then match the game to that image and the program will attempt to recreate it as best it can. They can be a powerful tool when used correctly.
Post Processing
Post-Processing covers a huge variety of effects that get added in the final steps of rendering in a game and a lot of these affect how the lighting works, such as bloom, exposure, or volumetrics. Whilst the list of post-processing possibilities is more or less endless, depending on what people can come up with, it would be impossible to cover them all, but we can look at some of the most common and how they interact with lighting.
Bloom
Bloom is used to recreate the blown-out light look that you get with bright lights through a camera lens. It can make objects bloom brighter which can add a great look to the game, but it can also make certain things harder to see, so has to be used in moderation. It’s worth determining the bloom before lighting a scene as any very bright lights could become completely blown out and ruin the look of the scene.
Exposure
Exposure’s main use is to try to mimic the eye’s natural ability to adjust its pupil size to adjust to bright and dark environments. If we’re in a dark cave or out at night, our pupils dilate to let more light in so we can see at lower light levels whereas when the sun is shining brightly in our eyes they do the opposite to protect themselves. Exposure does this by giving a gradual change to the brightness of the environment to adjust to if you are in a dark room or looking for something bright. As such the main areas you will see this is as you transition from one area to another. It’s important to get the balance right so your scene looks good in all the light levels the player will see it in.
Volumetrics
Volumetric lighting has been discussed above, but much of the controls for how it appears in-game will be part of the post-processing effects, so ensuring that you have control over both will allow you to get the best results from your lighting possible.
