
Texture And Material Artist
What are Textures And Materials?
Texturing is the act of creating 2D images that are then wrapped around the model using its UVs. Textures can have many different functions and when combined they become a material that creates the final effect.
There’s a large variety of maps that can be used and you will have to play around with different ones to achieve the effect that you want. The only real limitations are the performance and your own skills.
Depending on how old the project you are working on is, you may see different texture maps. Modern games use PBR (Physical Based Rendering) materials which more accurately mimic the real physical attributes of materials. Previously we didn’t have the computing power to do that so they were done in a different way.
Texture Types
PBR Workflow
PBR stands for Physically Based Rendering. It’s all about producing the most realistic-looking materials by accurately mimicking the way that different surfaces react to light. Here are some of the most often used in modern PBR texturing.
Albedo Map
An albedo map determines the color that is shown in the material. This is different from a diffuse map in that an albedo map does not contain any lighting data such as highlights and shadows. Because of the lack of lighting data they often look like a very flat image. If using a photo reference then the lighting information will need to be removed, either by hand or using a program to do it for you.

Normal Map
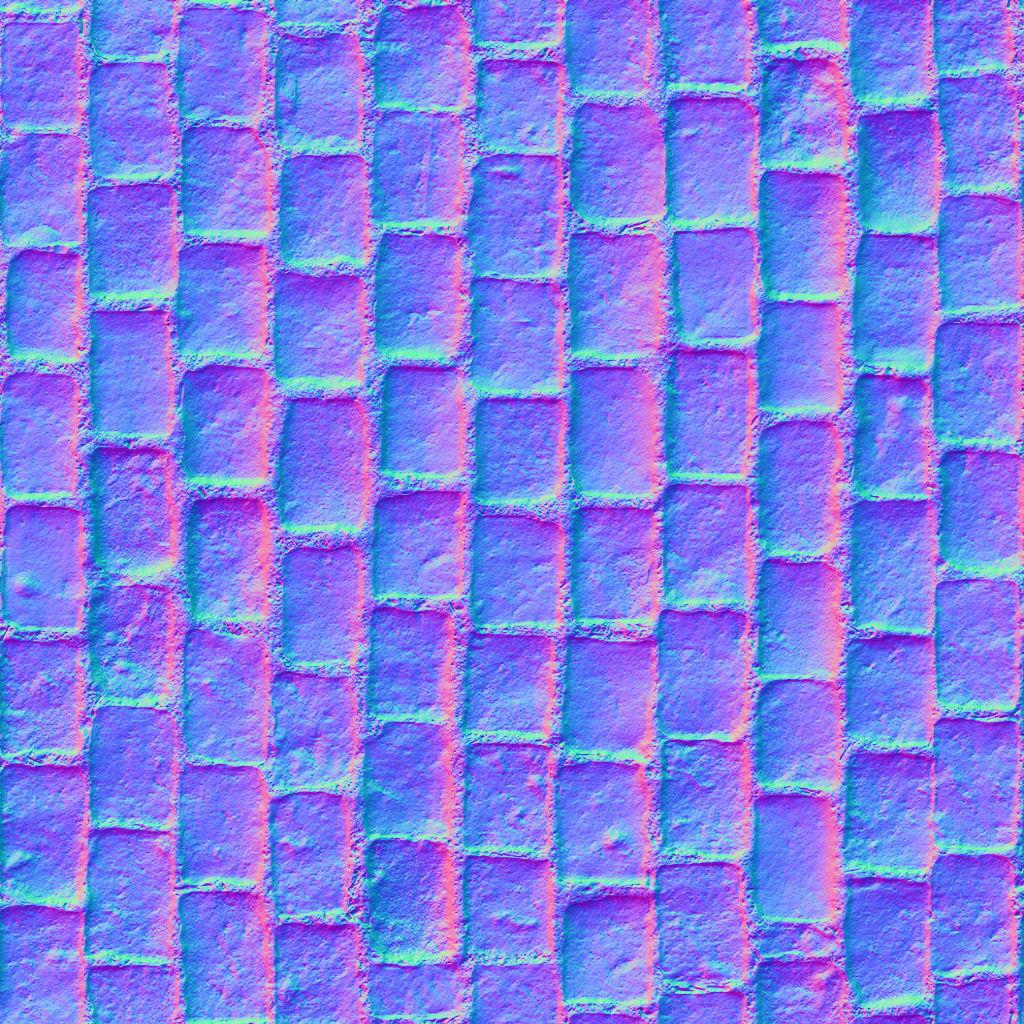
A normal map provides detailing that reacts to the light. This allows you to make a flat surface look like it has been modeled in detail but will not actually add any height to the geometry. At first, these maps look strange but to simplify it the texture uses the color channels to show which angle the light should hit it at with red along the X-axis, green along the Y-axis, and blue across the Z-axis. These maps can be generated in a number of ways from free software like CrazyBump to Quixel and Substance Painter.
Roughness / Smoothness Map
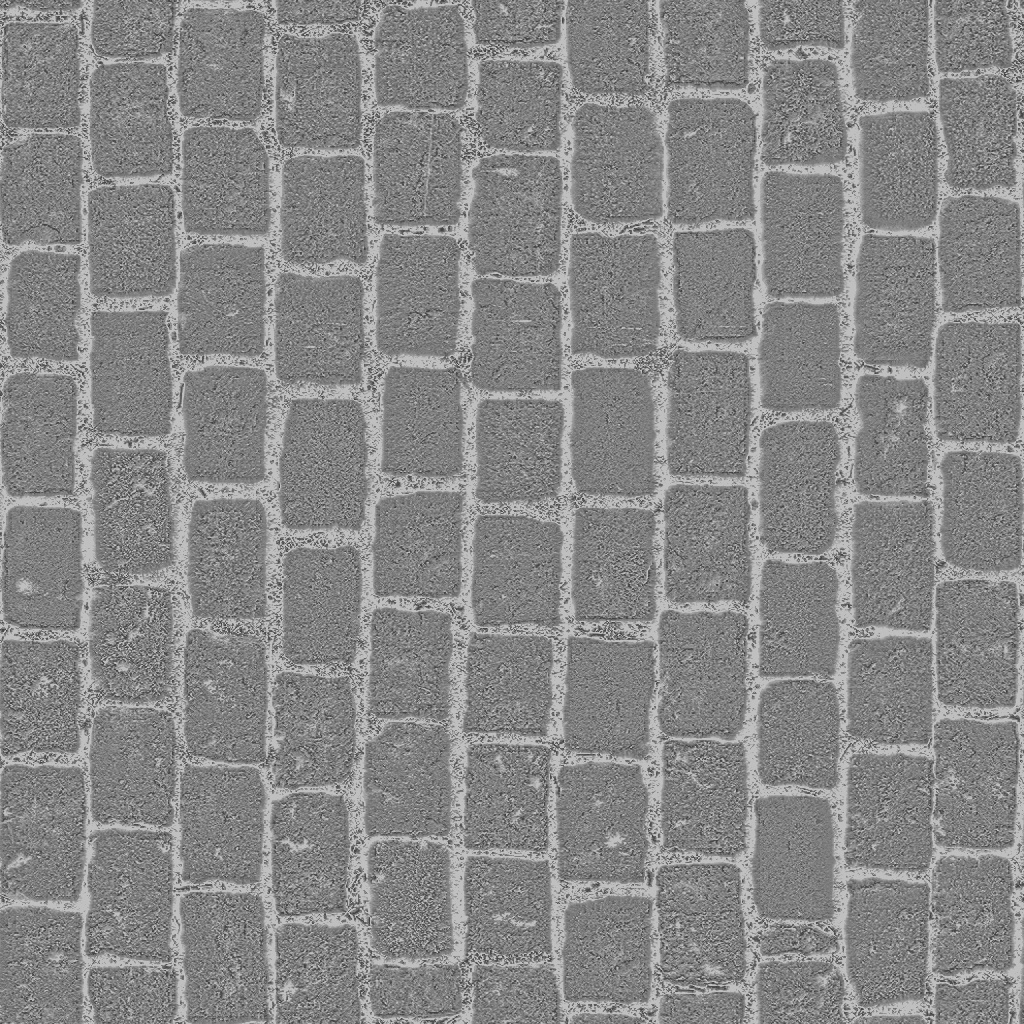
Different programs refer to this as either roughness or smoothness but they are essentially the same thing, just opposite. They
Metalness Map
A metalness map is a greyscale texture that determines how metallic the object being textured is. It essentially affects if the reflections it emits are the same color as the surface, much like real metal. In a perfect PBR workflow that mimics life accurately then the map should either be solid white for metal objects and solid black for everything else. More often artists will also use different shades of grey in between to create the effect that they want.

Masks
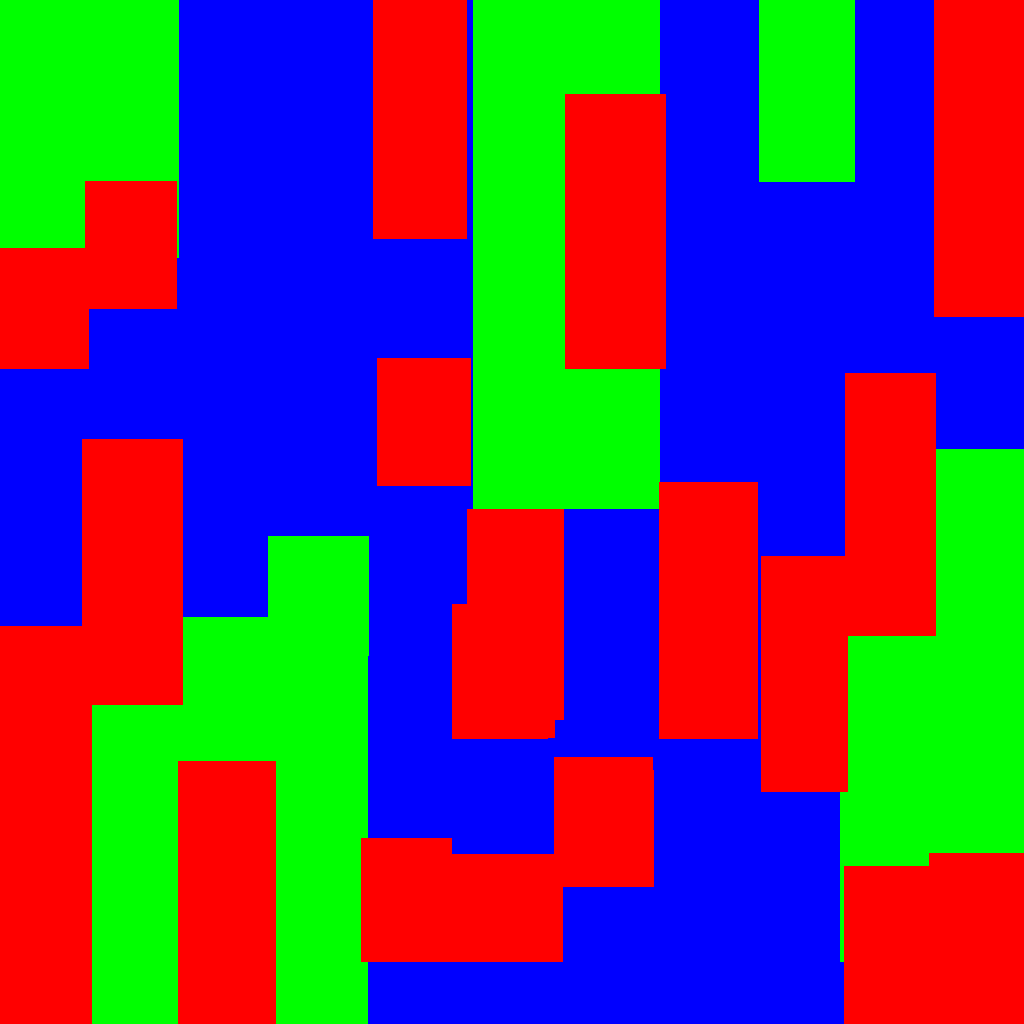
Masks are simple color maps that indicate to the material what areas you are referring to based on the RGB or the red, green, and blue channels. An example of this would be to use a mask that had the character’s t-shirt in the red channel which the material can set to change to a random color whilst leaving the rest of the texture the same. This allows you to make
Non– PBR Workflow
Before PBR we used a different kind of
Diffuse Map
Similar to the albedo map a diffuse map contains color data but will often contain light data as well. This is most commonly used when using a photo reference that you place directly onto the surface without removing the light data like you would for an albedo map. It is also common in hand-painted materials to include the lighting data so get that hand
Height / Bump Map
Height maps or bump maps are the older version of adding surface detail to a model, similar to a normal map, but can only store height data and not directional data. They
Specular Map
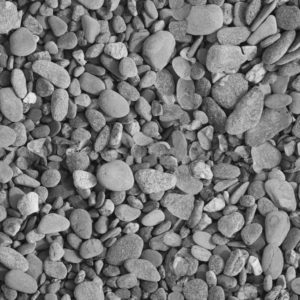
Specular maps were used in a similar way to roughness/smoothness maps in determining how shiny an object is. Specular maps use the map’s brightness to determine the reflectivity of the object. One difference with specular maps is that you can also use color in the image that will determine what the color reflected from that object should be. This is sometimes used alongside roughness/smoothness and metalness in modern games to affect its reflectivity on non-metallic objects.
Gloss Map
Gloss maps were also similar to roughness/metalness maps and affected how smooth a surface the object had. These were used in conjunction with the specular map to determine exactly what kind of light reflection the object would have which would greatly affect the final outcome.
Texturing Programs
To get started with textures you will need some image editing/painting software. There are two main types of texturing software. The traditional method is with 2D image creation software such as painting programs. The newer method involves painting materials directly onto the surface of a 3D object.
2D Texturing Programs
Photoshop
The undisputed king of all things 2D art is Photoshop by Adobe. It’s unlikely that you have never heard of Photoshop before and for good reason. Its wide toolset has made it industry standard from everything from games to airbrushing, from logo design to car concepts.
In terms of games, it is often used initially for concept and keyframe artwork. It’s also used for texture generation marketing images and so forth. When it comes to
Artist – Erik Johansson
If you are interested in doing any art-based work in games then you need to learn Photoshop, there’s absolutely no way around it. Every single company outside of possibly very early startups will use Photoshop for a wide variety of work so learning it is essential.
GIMP
There is a large selection of free photo editing and painting programs out there if you cannot afford Photoshop. Many of us started out using these free programs to get to grips with the basics without any upfront costs. GIMP, or GNU Image Manipulation Software, is a popular choice for those that want a free piece of software.

The functions avai
3D Texturing Programs
With the switch to
Substance Painter
Substance Painter is a 3D texturing and material generating program by Adobe. It is the sister program to Substance Designer. Substance Painter allows you to import a 3D model and then paint directly onto it using a series of parameters ranging from plain color to also including other maps like normals and metalness.
This workflow allows you to work on the final outcome whilst the program works out exactly how the maps need to be made to create the look that you have built up. Once completed the program will export the maps out in whichever form you need for the engine you will be using them in and will give you a set of texture maps that you can use wherever you need.

Substance Painter is used widely throughout the games industry and is probably the most often used program outside of Photoshop, although it is rapidly replacing it as the default texturing program. This makes it a great program to learn if you are interested in getting into the industry or producing amazing art.
Substance Designer
Substance Designer is a node
The bonus to using Substance Designer is that you can set parameters that you can tweak to dynamically affect the material. For example, you could have a grass texture with some rocks scattered throughout, if set up correctly you can have a slider that will dynamically and randomly change the amount and positions of the rocks. This essentially allows you to create many similar but varying textures with a simple slider.

Substance Designer is used in the games industry but serves a much smaller focus than Substance Painter. Generally speaking, you will only see it used on big AAA games with teams of hundreds of people. This is partly because the program is so deep and complex that they will hire specialist people to work entirely in Substance Designer. For this reason, it isn’t the best place for beginners unless you are sure you want to focus on this type of work.
Quixel
Quixel is a PBR-based texturing program. It works in a similar way to Substance Painter in that you can import and 3D model and work the material directly on that. The main difference is Quixel is more focused on using and editing a pre-set amount of realistic materials that you can work into as you see fit.
The two biggest pieces of software in this regard are Substance Painter/Designer and Quixel. Both are powerful programs that are used in industry and are now the top way of creating textures. Whilst it is possible to use this in place of Photoshop we recommend getting both pieces of software for the greatest control.

Quixel is used in the games industry but from personal experience as well as discussions with others it is used less than Substance. Its simple workflow does make it easier to pick up for people new to the concept so can be a good place for beginners. Some people will prefer to spend their time working directly with Substance so they are familiar with it though.
Texturing and Materials