Digital Sculpting For Games
What Is Digital Sculpting For Games?
Digital sculpting for games involves using a specially designed program to create or add detail to 3D models. To learn more about modeling check out our 3D Modeling page. Digital sculpting is very different from the more traditional methods of 3D modeling though. It attempts to emulate the way that a traditional clay sculptor would go about creating a model. You work directly onto the surface of the model rather than moving vertices and polys around. There are two main uses for sculpting 3D meshes. Building the base mesh and sculpting in detail.
Sculpting A Base Mesh
Most of the time 3D models will be created in a program such as 3ds Max or Maya which are programs that are built with modeling in mind. More recently, however, it has become more common to start the modeling process in a sculpting program. This is especially useful for organic models such as characters as the workflow involved suits that kind of mesh better. Doing it this way also saves the creator from changing programs often which increases the effort.
It is possible to do non-organic ‘hard surface’ modeling in sculpting programs too but usually, this is done in a program you have more control over like 3ds Max or Maya and then transferred over to the sculpting program for details.
Sculpting In Detail
The main use for sculpting and the part that sets it apart from other modeling techniques is to sculpt in detail. Sculpting programs are designed to work at much higher poly counts and that allows much finer detail to be added to the model. The painting workflow also allows you to work with finer details more than a standard modeling program.
Although you can work at much higher polycounts in sculpting programs you will not be able to use these in-game as they will be too intensive to run in real-time. To solve this we bake out what is called a ‘normal map’ this is a texture that gets applied to the lower poly version of the mesh to give the impression of the finer detail without being such a drain on resources. To learn more about texture maps check out our Texturing and Materials page.
Digital Sculpting Programs
There’s a wide range of sculpting programs out there to use. Most of them work on the same basic principles of attempting to recreate the techniques used in physical sculpting as best as possible to give freedom to the artist so that they are not restricted by the usual constraints of 3D modeling. Some, however, have a much deeper set of functions to create even more impressive pieces of art.
Here is a list of some of the more popular choices but there are many more out there that you can try.
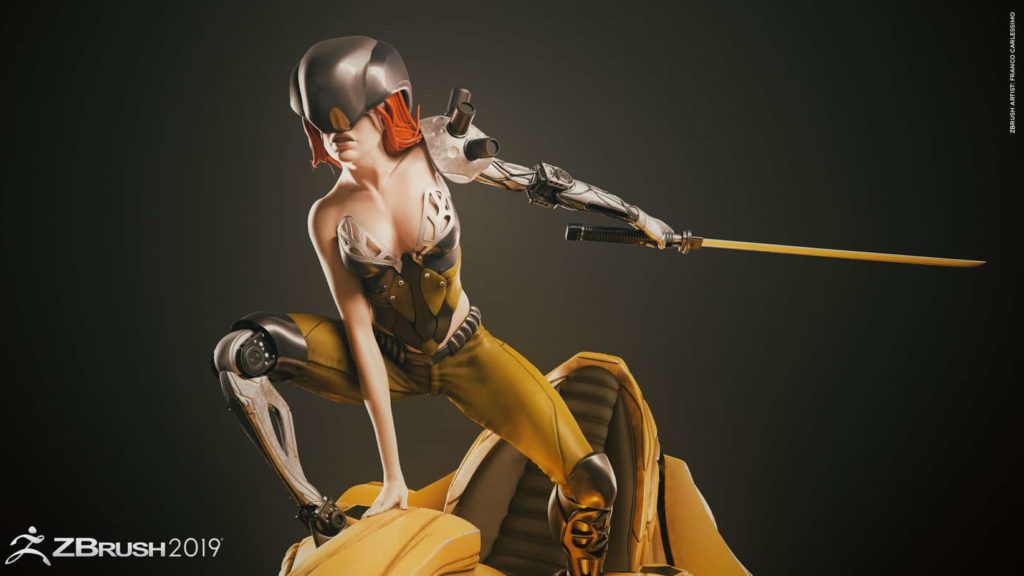
ZBrush
By far and away the king of sculpting programs is ZBrush from Pixologic. Its popularity is so universal that the term ‘ZBrushing
Zbrush’s largest downside is that the program is made in quite a unique way, not following the traditional standards we have come to expect. This makes even the most basic tasks difficult to accomplish at first but once that barrier to entry has been passed it makes creating incredible things much easier than would normally be possible.

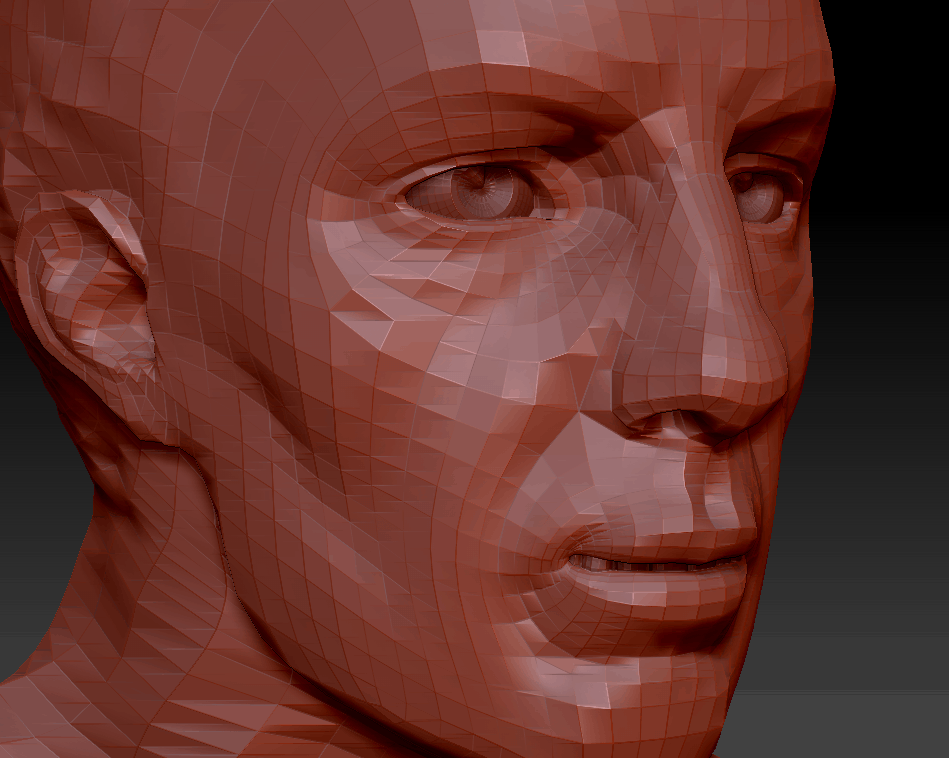
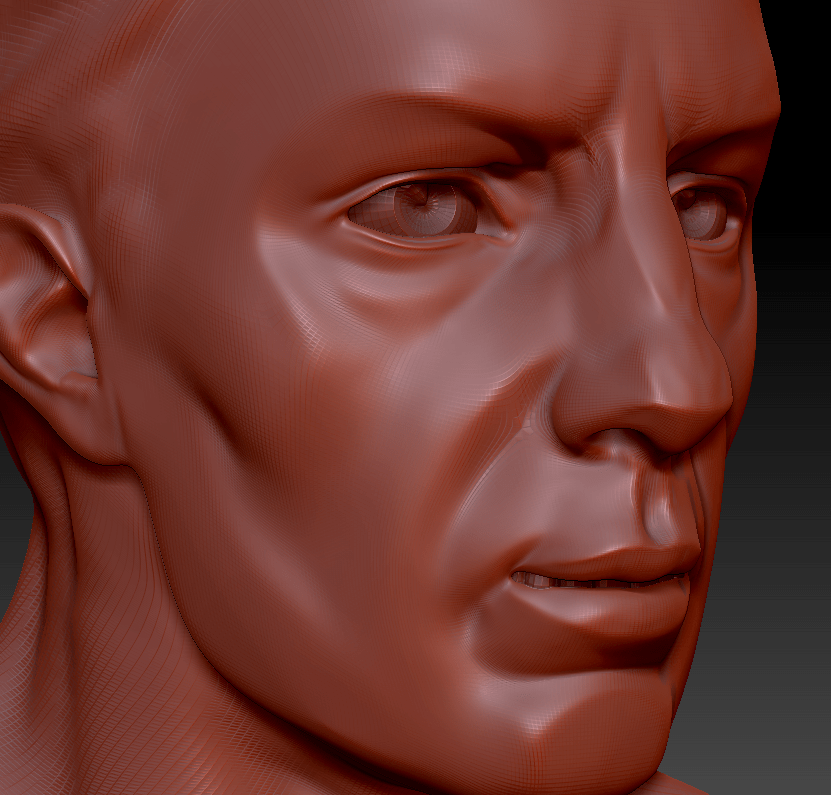
Artist – Somen Chatterjee
Although it is not the only program that is considered industry standard it is by far and
Mudbox
Mudbox is Autodesk’s version of a sculpting program. As it’s created by the same company as 3ds Max and Maya it has great integration features, allowing you to switch between programs quickly and painlessly. While it lacks some of the power and abilities that Zbrush brings to the table it is nonetheless a great program that’s capable of doing exactly what most people need without such a steep learning curve.
Mudbox is considered industry standard and some companies do use it. It is however vastly overshadowed by ZBrush in that respect so I would still recommend learning Zbrush instead. That being said it can be a great program for hobbyists or artists that focus on other areas to be able to pick up and use easily.
Sculptris
Sculptris is another digital sculpting tool by Pixologic. This one, however, is free to use and is much easier to get to grips with than ZBrush as it only has the most basic functions in there. This stops you from being overwhelmed by the vast number of features and allows you to focus on getting to grips with digital sculpting.
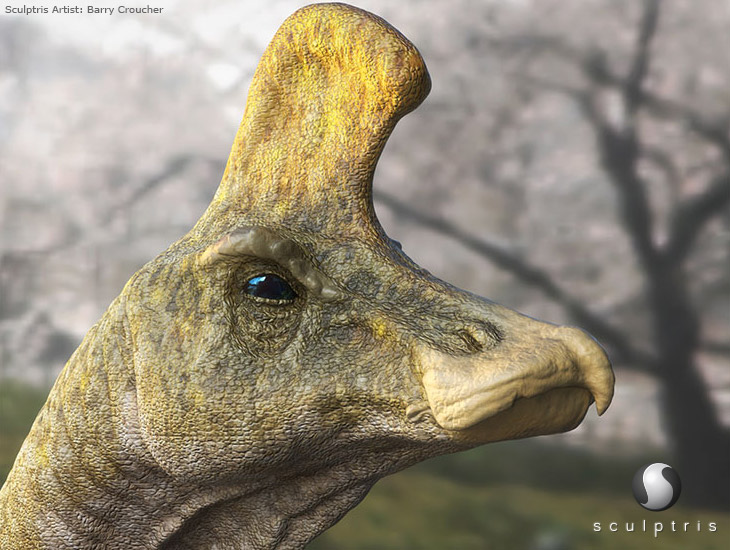
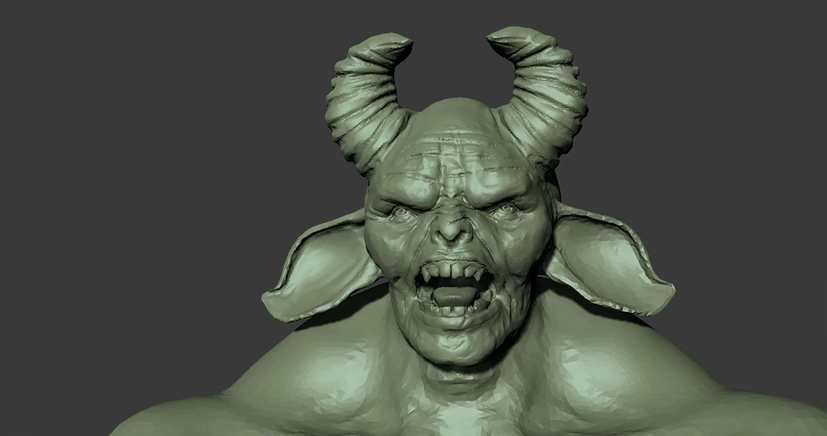
Artist – Barry Croucher
As you would imagine, Sculptris is not industry standard as it has a very limited feature set as opposed to ZBrush, but it can be a great jumping-off point for those that want to get their feet wet without spending money. It can also set you up well to springboard into ZBrush when you feel the time is right.
3DCoat
3DCoat from Pilgway is primarily a texturing and material program but also has some sculpting features within it. It can do much of what you might need out of a sculpting program at first but lacks some of the more powerful tools that dedicated programs have.

It’s generally recommended that you use a dedicated digital sculpting tool as they will have a lot more features as they are made with that sole use in mind. That being said, tools like 3DCoat that do well in multiple aspects can be especially useful for those on a budget, such as hobbyists or small indie adventures.
3D Modeling Programs
Most of the biggest 3D modeling programs, many of which are listed on our 3D Modeling page, also have built-in tools that allow you to sculpt right there in the program, allowing it to work as a casual part of the modeling process. These programs include, but are not limited to; 3ds Max, Maya, Blender, Modo, and Cinema 4D.
These programs often have only the most basic features and are not designed to work at such high poly counts as well as dedicated programs. As such we normally wouldn’t recommend them, but considering that most of them are programs that will be available to artists for other uses anyway then their abilities are a welcome supplement to the more powerful tools.
Sculpting Principles
There are many techniques and features you can use while sculpting to create some amazing pieces of art, much too many to list here in detail. We’re going to take a look at some of the basic principles that will help you get to grips with it and start you off on your learning journey.
For clarity, we will be using ZBrush as our focus simply because it is so widely used. Many of these principles apply to all forms of sculpting but some of them may not.
Subdivision Workflow

As the artist starts out sculpting the general forms then they will want to work at a lower poly count for more control. As they work in the finer details they will increase the subdivisions allowing them to work at a smaller and precise scale. This, for example, allows the user to go from sculpting the shape of a human right the way down to adding the pores on their skin with very little effort.
Sculpting Workflow and Brushes
Sculpting starts with a brush. Very similarly to Photoshop and other painting programs, the brush determines how the model will react when used on its surface.
Brushes can do a variety of different functions. Some will replicate clay that is added or subtracted from the surface, others will harden an edge to a sharper point. There are also brushes for smoothing and cutting slices into a surface. Many of these functions try to replicate techniques and tools that you would use in real life, so any physical sculptors should have an easy time adjusting.
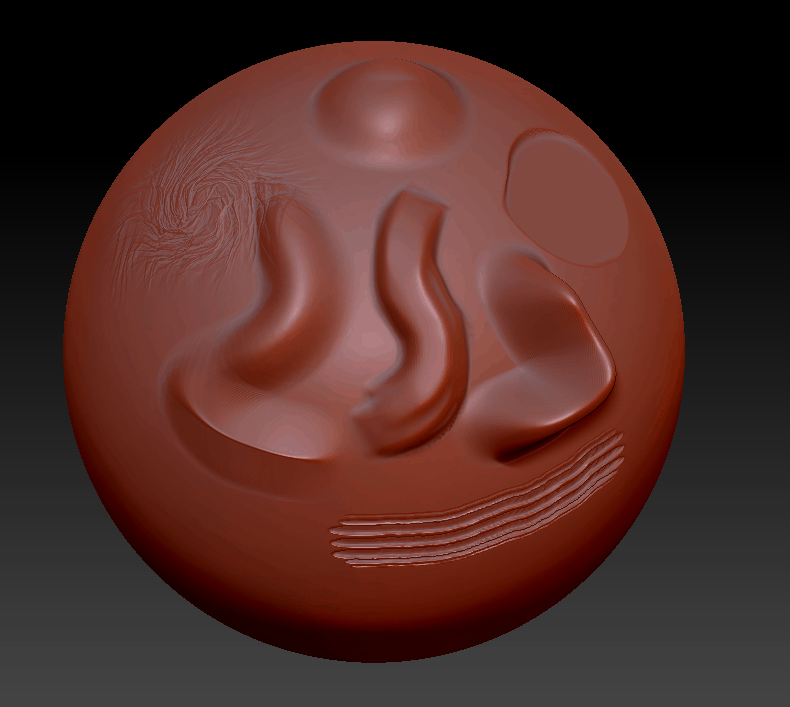
It’s possible to download many custom brushes as well if you don’t find one that fits your need. This means you will almost always be able to find something that does what you want it too so you are free to work on your art unimpeded.
Alpha Workflow
The alpha that you apply to a brush is similar to the brush you select in Photoshop. It affects the shape of the area that the brush will be applied to. For example, when sculpting in the forms of the model you will normally use a circle or square-shaped alpha.
The alpha you select is especially useful when working on the finer details. You can find an
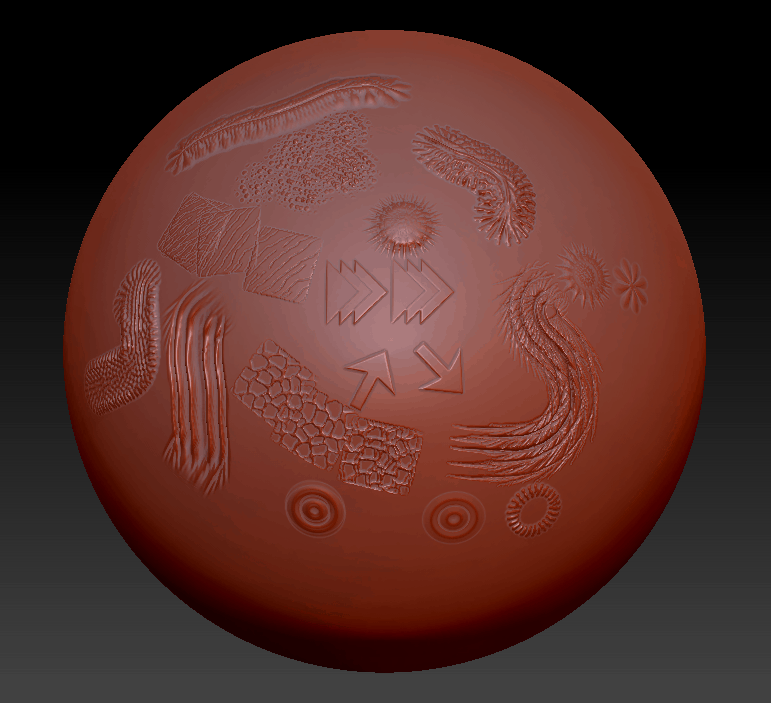
As with brushes, it’s possible to download a huge variety of alphas as well as create your own in Photoshop as you would a Photoshop brush. This means that you will almost always have a useful alpha to hand when for whatever you need.
Multi Mesh
Multi-mesh is a ZBrush tool that allows you to take a mesh that you have made and multiply it in a pattern onto the model. A good example of a use for this would be to create a zip or chain mail armor by creating a small piece of what you want and then duplicating it over and over.
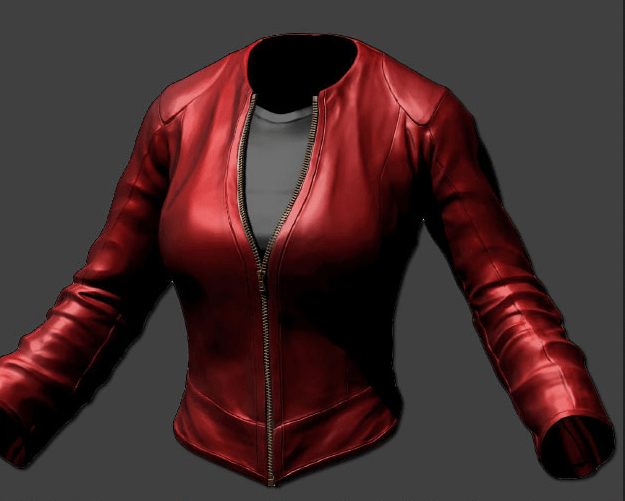
This tool allows you to create incredibly detailed models that might have been impossible before very quickly and easily. It will also add a level of detail and realism that can impress anyone.
This Digital Sculpting For Games article is part of our Making Games series. You can find breakdowns of the different aspects of game development there. If you want to know more about the other aspects of game art then the Guide To Game Artists is for you.
